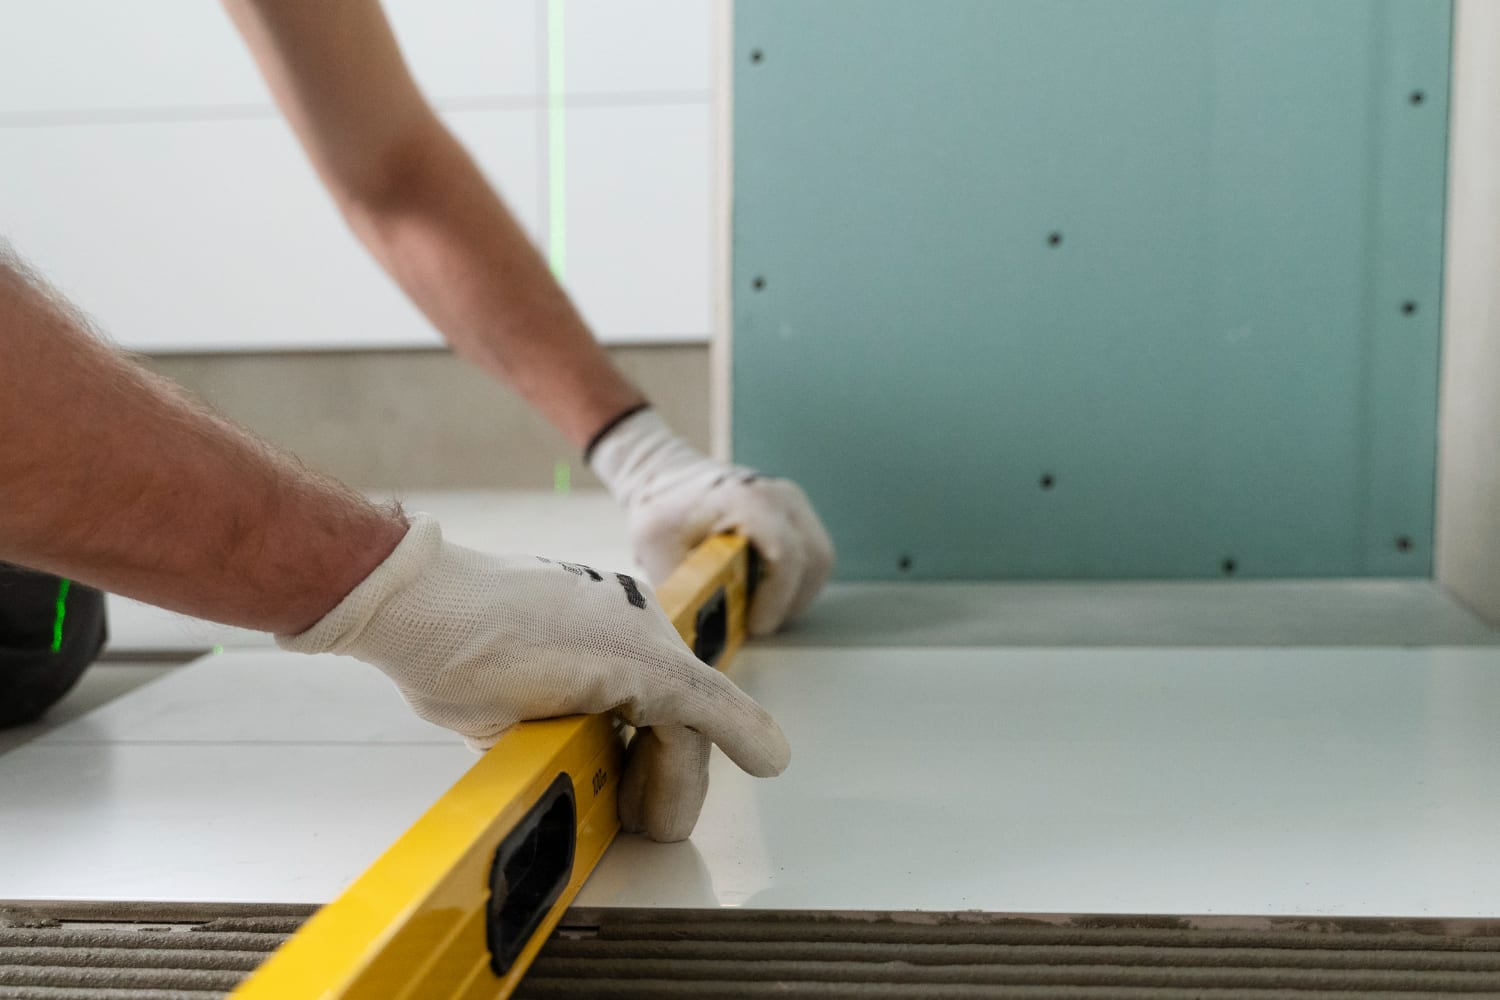
Glass tiles can add a touch of elegance and modernity to any space, whether it's your kitchen backsplash or bathroom walls. While hiring a professional installer is an option, many homeowners prefer the challenge and satisfaction of tackling a DIY glass tile installation project.
Why choose glass tiles for your project?
Glass tiles are renowned for their stunning visual appeal and versatility. They come in a wide range of colors, sizes, and finishes, allowing you to create unique designs and patterns. Additionally, glass tiles are durable, resistant to stains and water, making them ideal for areas prone to moisture such as kitchens and bathrooms. Their reflective properties also help in brightening up spaces and creating an illusion of depth.
Planning your project
Before diving into the installation process, careful planning is essential for a smooth experience. Start by measuring the area where you intend to install the glass tiles. Calculate the square footage and purchase an additional 10% of tiles to account for cuts, breakage, and future repairs. Choose a suitable adhesive and grout that are compatible with glass tiles to ensure a strong and lasting bond.
Preparing the surface
Proper preparation of the surface is crucial for a successful glass tile installation. Ensure that the wall or substrate is clean, smooth, and free from any debris, grease, or old adhesive. Use a suitable primer to create a smooth and adhesive-friendly surface. Allow the primer to dry completely before proceeding with the installation.
Cutting and layout
When cutting glass tiles, use a tile cutter or a diamond-tipped glass cutter for precise and clean cuts. Lay out the tiles on the surface before applying adhesive to visualize the design and make any necessary adjustments. Consider using spacers to maintain consistent grout lines and spacing between tiles for a professional finish.
Applying adhesive and setting tiles
Apply the adhesive to the surface using a notched trowel, ensuring even coverage. Start placing the glass tiles on the adhesive, pressing them firmly to ensure a strong bond. Use tile spacers to maintain uniform spacing between tiles. Avoid sliding or adjusting tiles once they are set in the adhesive to prevent displacement.
Grouting and finishing touches
After the adhesive has set according to the manufacturer's instructions, remove the tile spacers and proceed with grouting. Use a rubber grout float to apply the grout diagonally across the tiles, ensuring that all joints are filled completely. Wipe off excess grout with a damp sponge before it dries. Allow the grout to cure for the recommended time before sealing it for added protection and longevity.
Cleaning and maintenance
Once the installation is complete, clean the glass tiles and grout lines with a mild detergent and water solution. Avoid using abrasive cleaners or tools that may scratch the tiles. Regular maintenance, such as wiping down the tiles and resealing grout lines as needed, will help preserve the beauty and integrity of your glass tile installation.
Installing glass tiles can be a rewarding DIY project that adds style and value to your home. If you're ready to embark on your glass tile installation journey, visit Dave's Tile City in Chico, CA, for quality glass tiles, adhesives, grouts, and expert advice. Transform your space with the timeless elegance of glass tiles today!
Visit Dave's Tile City in Chico, CA
Are you inspired to enhance your home with stunning glass tile installations? Visit Dave's Tile City in Chico, CA, where you'll find a wide selection of high-quality glass tiles, adhesives, grouts, and tools for your DIY projects. Our knowledgeable staff is ready to assist you in choosing the perfect materials and providing expert advice for a successful installation. Transform your space with the beauty and durability of glass tiles from Dave's Tile City. Contact us or visit our showroom today!


